Perspective
Perspective is a very important factor of drawings
as it adds that extra layer of realism to an image. Perspective is a
technique that is used to create the illusion that a 2D image or
drawing is a 3D image as if viewed from the eye of the viewer. This
is achieved by making objects that the further away from the viewing
window smaller, also there will usually be vanishing points present
in the image to show the depth of objects and angle of viewing. This
is in contrast to the more simple form of 3D drawing called isometric
drawing this is where all lines will be parallel or at least have a
very shallow angle making a drawing that has no obvious point of
view. However it is worth noting that an object with a normal
perceptive can seem to be drawn isometric if very close to the viewer
or very small.
There are 4 major types of perspective used
in art: 1 point perspective, 2 point perspective and 0 point
perspective.
1 point perspective:
This form of perspective is mostly used for roads
or large flat open spaces. It occurs when the viewing rectangle of
the image is directly parallel to lines in the image or directly
perpendicular. The way 1 point perspective is created is by having
all the lines cross at one single point in the image. This is the
same with all over perspectives but they will have more than one of
these vanishing points
2 point perspective:
This form of perspective is mostly the same
as 1 point perspective however the view is twisted and is usefully
used when the corner and two sides of an object can be viewed. Also
in 2 point perspective the tops and bottoms of objects can be seen as
they are at the eye level of the viewer. The two vanishing points are
used in this perspective make the two sides visible taper to a point
the further it gets away from the viewer.
3 point perspective:
This perspective is used when the top or bottom of
an object can be seen. It works in exactly the same way as the two
point perspective however with the new side there is another
vanishing point for line to taper to. This is the most common
perspective in art as in most scenes you will be able to see 3 sides
of every object unless there is an object at the eye level of the
viewer.
0 point perspective:
There are some images that don't contain any
parallel lines or vanishing points due to curves and abstract shapes.
This is most apparent in natural scenes as they have no real
vanishing points of lines as objects in the natural world are general
curved and not like the cube shaped man-made objects.
4 point perspective:
This is the 5th perspective type and wasn't
included in the 4 main perspectives as this is an unrealistic, more
artistic, perspective due to the infinite nature of the images it
creates. This perspective basically creates a panorama view of a
scene or objects but can then go beyond a 360 degree turn and show
the same objects twice but from a different view point
Composition
Composition in images is very important as without
this images can seam cluttered and hard to look at. The different
composition styles lets the viewer travel through the image in
different ways. Two ways a good composition can be achieved is with
the Fibonacci Spiral and the Rule of Thirds mentioned in previous
posts.
Fibonacci Spiral:
The Fibonacci spiral is a mathematical
shape/equation that produces a perfect spiral. In composition This is
used to lead the viewer to a single focus point usually to one side.
This form of composition is used mostly in photography.
The Rule of Thirds:
This form of composition is designed around the
idea that when we view images we automatically look at 4 main points
in the centre of the image. Most images use this composition method
to help bring out the focus of an image by placing an object or
feature on one of the points used in the rule of thirds, these points
come about when you draw lines over an image splitting it into
horizontal and vertical thirds.
Examples
Good example

This concept from Skrim shows how you
can use composition and perspective to create a believable image that
draws you in to look at the important aspects of the image. It is
easiest to see the perspective in the roof beam running along the top
of the image as the further it gets
from the front of the image the thinner it seams to get. In terms of
focal points the image uses a 1 point perspective that can be seen by
how items shrink towards the centre.

This image shows how this concept also
used the Fibonacci Spiral composition. The curves of the walls and
pillars have been cleverly paced to line up with the spiral as shown
with the image above. This effectively leads the viewers eye through
the room to the door at the end.
Bad
example
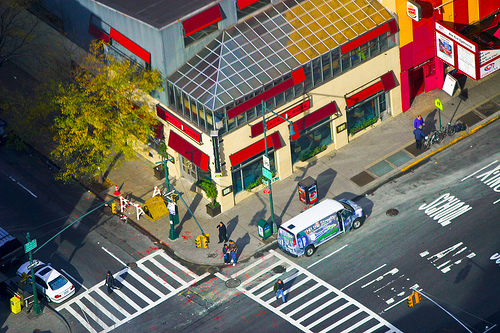
This image is
an example of how an image looks with no perspective or composition.
The way this image has been created is by using a method of 3D
drawing called Isometric drawing. this is were you draw everything in
a image from a fixed view of above the corner of the cubes. This also
means that if a cube is viewed in this view an equal amount of each
side.
Also with this image having no focal
points or composition it is hard to look at, meaning that your eyes
has no real place to look. this gives the image the feel of a
screen-shot of the game, This may have been intentional to give the
feel of how a game would really look like.


